 Fa
Fa En
En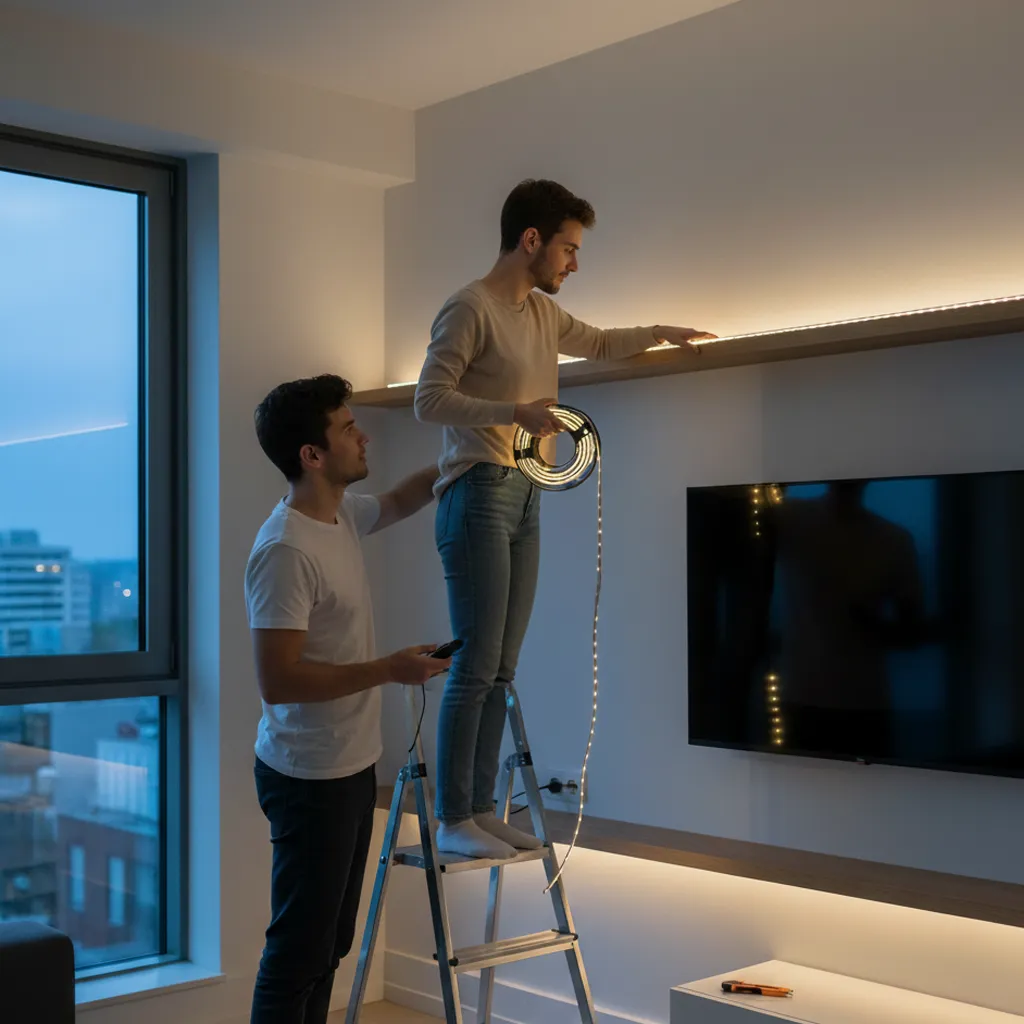
Installing LED strip lights is one of the most common and effective methods for lighting and beautifying indoor and outdoor spaces, such as homes, shops, restaurants, cafes, and public areas. As the new generation of linear lighting, LED strips allow for modern, targeted, and energy-efficient illumination. Compared to traditional methods, they offer a longer lifespan and significantly reduce energy costs.
Key advantages of LED strips include low energy consumption, a wide variety of colors, high flexibility, easy installation, and resistance to environmental conditions. These features have made LED strips a top choice for lighting designers and home users alike.
In this article, we will review the different methods of installing LED strips step-by-step. We also provide important tips on surface preparation, electrical connections, choosing power supplies, using connectors, and maintenance, so you can execute the perfect lighting setup with minimum cost and maximum safety.
What to Do Before Starting the LED Strip Installation?
Before you begin, observing a few simple but important points will guarantee the final quality of the work:
- Plan and Measure: First, determine the installation location and accurately measure the required length.
- Cut Correctly: If you need to shorten the strip, only cut at the designated marks (scissor icons or copper pads).
- Prepare the Strip: If the strip has an adhesive back, peel off the protective layer and install it on a clean, flat surface.
- Test First: Before final installation, connect the strip to power to ensure it works correctly.
- Smart Features: For smart or controllable strips (like Bluetooth or Wi-Fi models), install the relevant app and test the connection.
Method one: Simple Installation with Adhesive Backing
Step 1: Measurement and Selection
First, measure the length of the space where you intend to install the strip. In addition to length, consider the required brightness. For example, decorative hidden cove lighting requires fewer lumens than functional task lighting. If installing in multiple spots, measure each section separately.
Tip: For humid or outdoor spaces, choose waterproof strips with an appropriate IP rating (like IP65 or IP68).
Step 2: Surface Preparation
The surface must be completely clean, dry, and smooth. Dust, grease, or moisture will reduce the adhesive’s power. Using a clean cloth and, if necessary, a little water or mild detergent helps clean the surface. Installing strips on rough surfaces or freshly painted walls is not recommended.
Step 3: Peeling the Adhesive Gradually
Peel off the adhesive backing in stages. For short lengths, you can remove it all at once, but for long runs, it is better to do it gradually to maintain better control over the installation path. Peeling and re-sticking reduces the adhesive’s strength.
Step 4: Sticking the Strip to the Surface
Gently place the strip on the surface and press down with your hand to ensure it sticks completely. The strip should be installed straight to create uniform light. In corners and angles, bend the strip gently without excessive stretching to avoid damaging the internal circuit.
Step 5: Continuing Installation and Adjusting
Continue unrolling the reel and pressing each section onto the surface. If you go slightly off course, you can gently correct the strip, provided the adhesive hasn’t fully set yet.
Step 6: Cutting the Excess
Cut the excess strip only at the allowed points. These spots are usually marked with a scissor symbol or copper pads. Cutting at the wrong points will cause a section of the strip to fail.
Step 7: Connecting to Power
Finally, connect the strip to the adapter or power supply and plug it into the outlet. Place the controller or dimmer in an accessible location.
Method two: Professional Installation Using Connectors and Accessories
For angled installations or places like behind TVs, under beds, or cabinets, using LED connectors is very practical. These connectors allow for creating 90-degree angles and solder-free connections.
- Note: Connectors do not always have a universal standard; it is better to use connectors from the same brand as the strip.
- Pro Tip: If the strip lacks a cover, using a diffuser (aluminum profile with cover) will make the light more uniform and give it a more professional appearance.
To coordinate lighting throughout the space, you can install multiple similar strips in different spots and use smart lighting or complementary RGB bulbs if needed.
Method three: Wiring and Electrical Connection
Step 1: Check Working Voltage
LED strips usually operate on 12V or 24V DC. Choosing the right power supply is essential for stable performance and longevity. The adapter’s job is to convert 220V AC (mains power) to the required voltage.
Step 2: Calculate Power Consumption
The power consumption of the strip is specified in Watts per meter. Multiply this number by the total length of the strip to get the total wattage.
Step 3: Selecting the Right Power Supply
To ensure proper operation, multiply the total wattage by 1.2 to allow for a 20% headroom. This prevents excessive strain on the power supply.
Step 4: Calculating Current (Amps)
By dividing the total wattage by the voltage, you get the required Amperage. Insufficient current will cause the strip to dim or turn off.
Step 5: Choosing Adapter and Control Equipment
Select an adapter that meets both the Wattage and Amperage requirements. If using dimmable strips, ensure you purchase a compatible power supply or dimmer.
Step 6: Using Connectors or Soldering
For quick connections, clip-on connectors can be used. Otherwise, soldering is a more reliable option, provided safety principles are followed.
Step 7: Final Test
After connecting, turn on the strip and check for correct Positive (+) and Negative (-) polarity connection. If it doesn’t light up, check the connections first.
Conclusion
Installing LED strips, if done correctly, will result in a beautiful, safe, and durable outcome. Selecting the right strip, preparing the surface, installing correctly, and using a standard power supply are the most important factors for success. By following these tips, you can enjoy professional and modern LED lighting in your space without the need for extra costs or frequent repairs
بدون نظر